

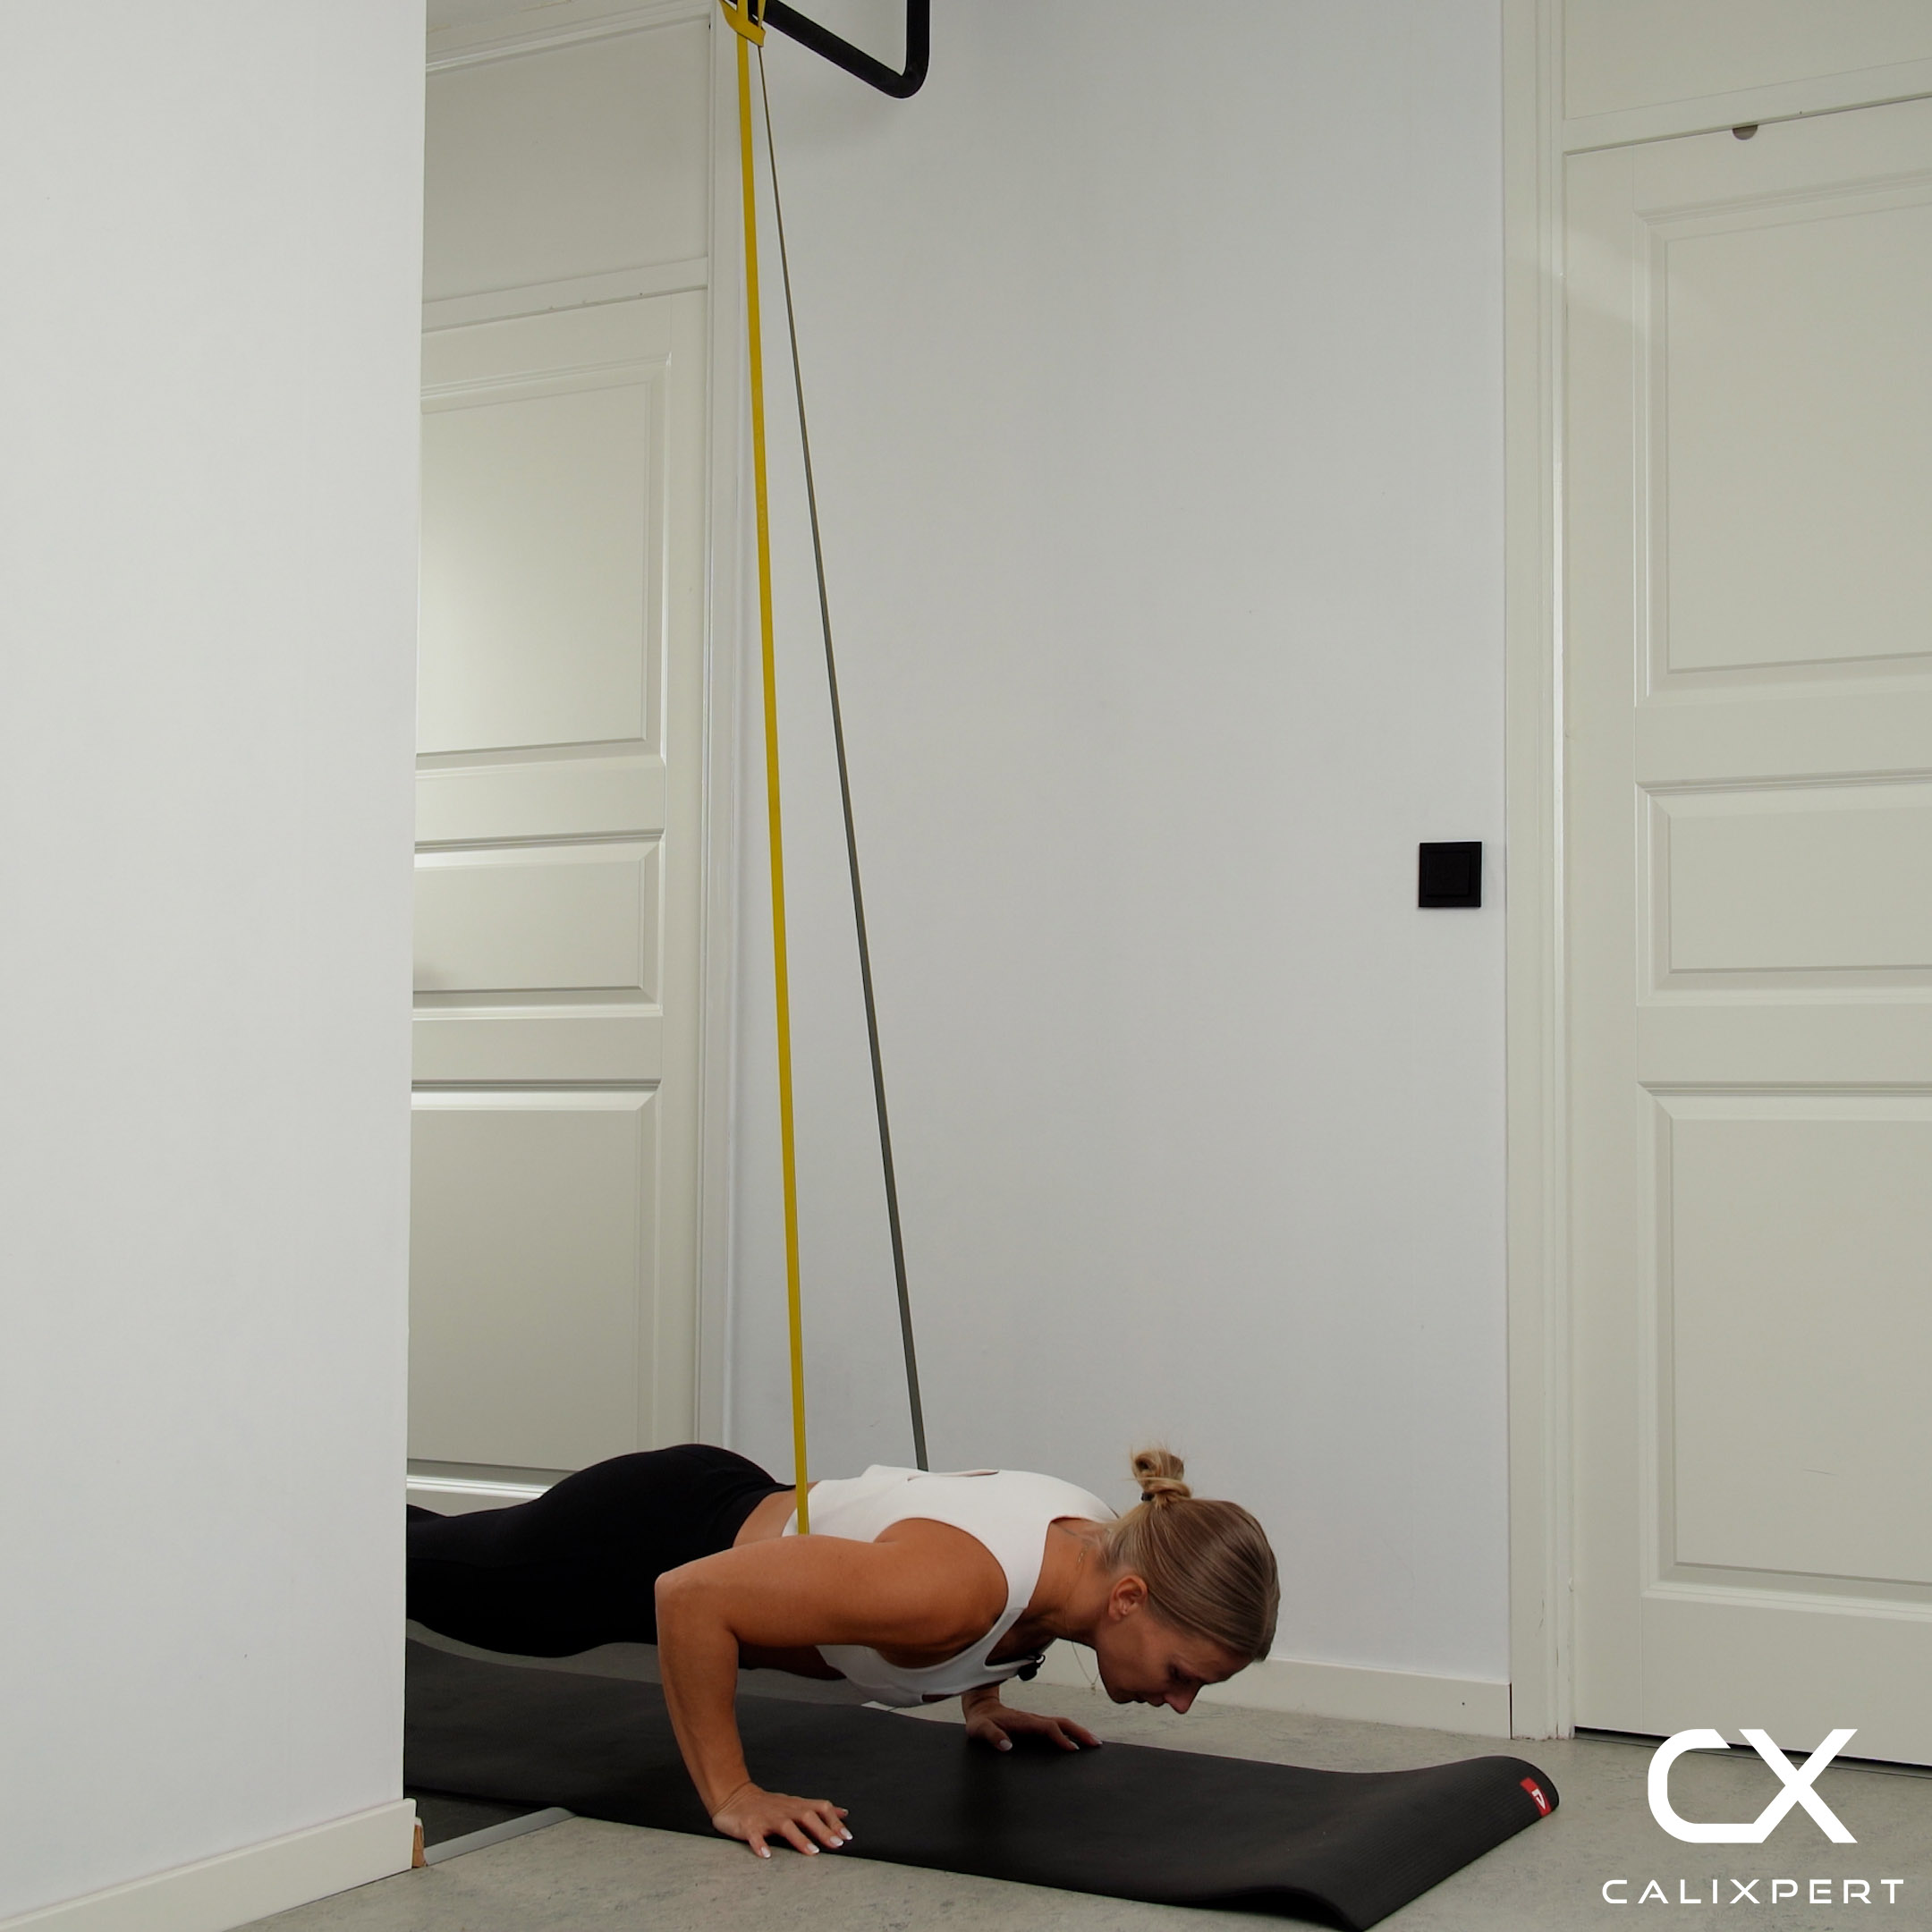
How to Do Assisted Push-Up
Assisted push-ups are a modified version of the traditional push-up, designed to help beginners build strength and improve form. By reducing the amount of body weight you need to lift, assisted push-ups allow you to focus on proper technique and gradually increase your strength.
Step By Step Guide to Properly Execute Assisted Push-Up
- Starting Position
- Begin by kneeling on the floor. Place your hands slightly wider than shoulder-width apart on the ground, and position your knees behind you so your body forms a straight line from your head to your knees.
- Execution
- Lower your chest towards the ground by bending your elbows, keeping them at a 45-degree angle to your body. Maintain a straight line from your head to your knees throughout the movement.
- Top Position
- Pause briefly when your chest is just above the ground, ensuring your core remains engaged and your body stays aligned.
- Lowering Phase
- Push through your palms to extend your elbows and return to the starting position, maintaining control and alignment.
Benefits of Assisted Push-Up
- Builds upper body strength, particularly in the chest, shoulders, and triceps.
- Improves core stability and overall body alignment.
- Allows beginners to develop proper push-up form and technique.
- Reduces the risk of injury by minimizing strain on the joints.
Common Mistakes to Avoid
- Allowing hips to sag or rise, which can lead to poor form and potential injury. Keep your body in a straight line.
- Flaring elbows out too wide, which can strain the shoulders. Keep elbows at a 45-degree angle.
- Not engaging the core, which can lead to a lack of stability. Tighten your core throughout the movement.
Follow these steps and tips to master assisted push-ups with proper form and efficiency.
FAQ About Assisted Push-Up
Start by doing push-ups on your knees instead of your toes. This makes it easier to push up and down. Keep your body straight like a plank. Do as many as you can, rest, and then try again. As you get stronger, try doing push-ups on your toes. Practice regularly, and you'll get stronger over time.
Keep your body straight like a plank, from head to heels. Place your hands a little wider than your shoulders. Lower your chest to the ground slowly, then push back up. Keep your tummy tight and don't let your back sag. Imagine you're a strong, straight board!
Assisted push-ups help build upper body strength, improve core stability, and enhance muscle endurance. They're great for beginners, allowing you to focus on form and gradually increase strength. They reduce strain on joints, making them safer if you're recovering from an injury. Plus, they can be easily modified to match your fitness level, making them a versatile addition to any workout routine.
To make assisted push-ups more challenging as you get stronger:
- Lower the assistance – Use a lower incline or lighter resistance band.
- Slow down the tempo – Lower yourself slowly to increase time under tension.
- Add pauses – Hold at the bottom for 2-3 seconds before pushing up.
- Increase reps or sets – Gradually do more repetitions.
- Try archer push-ups – Shift more weight to one side.
- Use deficit push-ups – Elevate hands for a deeper range of motion.
- Incorporate explosive reps – Push up quickly to build power.
Progress gradually to maintain good form and avoid injury.


